
Not all flower frogs are created equal.


Brands that love the frogs.
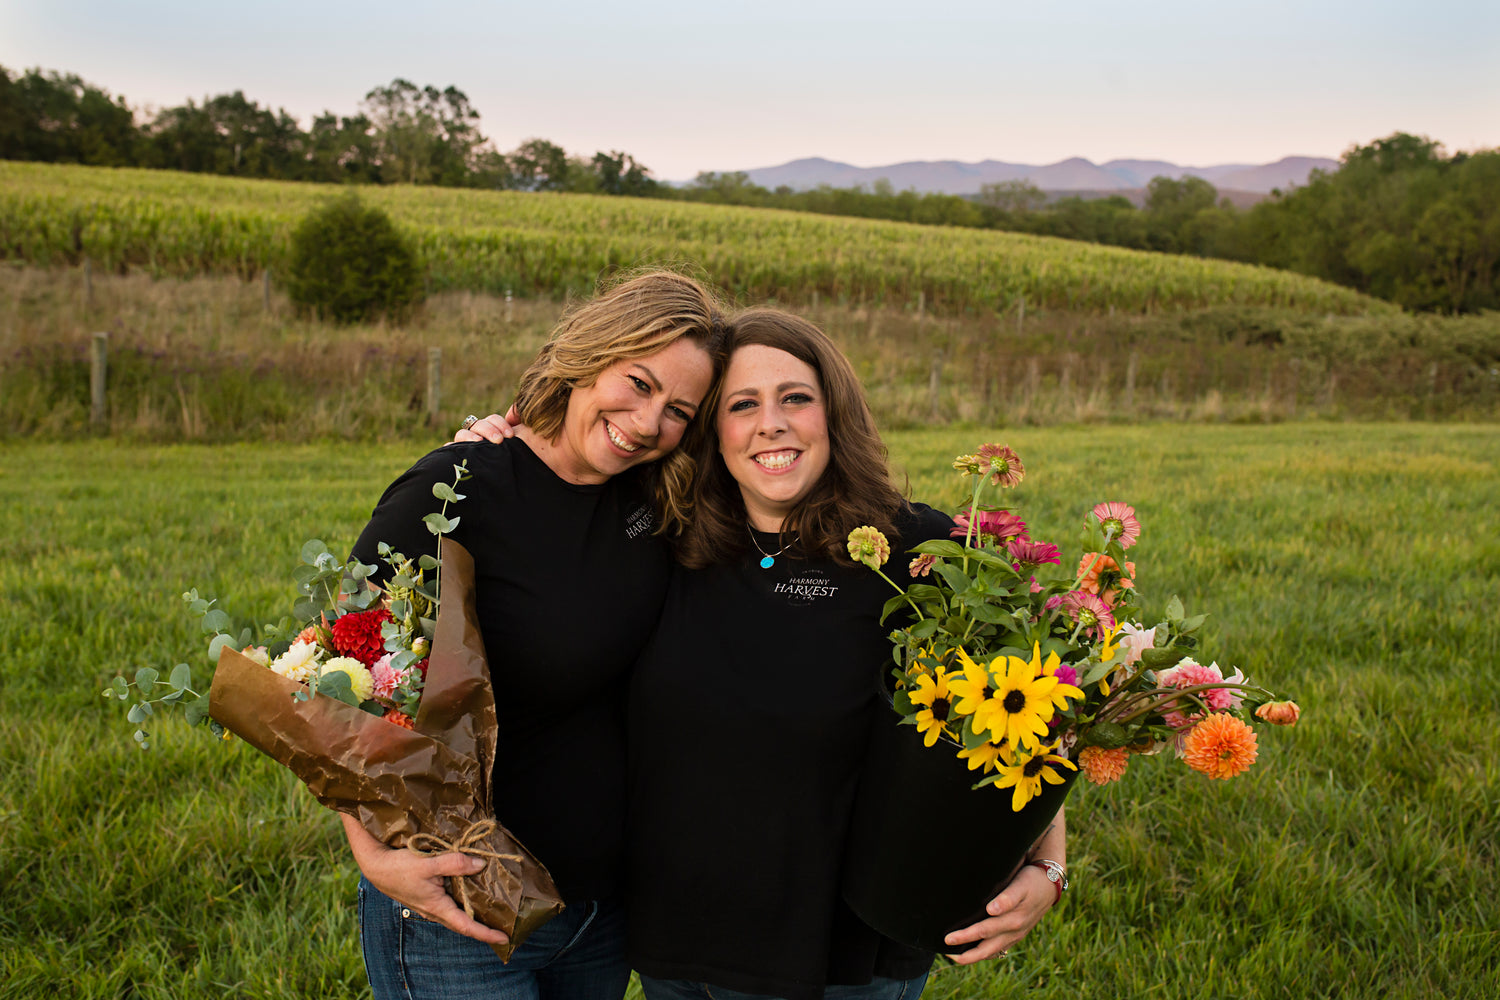
The Makers
Floral Genius was founded by sisters, Stephanie and Jessica in 2017. Since then, the team has gotten bigger - and so has our passion for making high-quality flower frogs for floral enthusiasts everywhere.
Why we're so proud.
-
Made in the USA
We are the only US manufacturer of metal kenzan, and only makers on earth of The Hairpin Holder.
-

Sustainability Forward
Create luxury and everyday floral arrangements without the microplastics of traditional floral foam.
-

Designed to Last
Made with durable, rust free materials to last a lifetime. Use them over and over with minimal maintenance.
-

Luxury Quality
Our pin holders have 1", incredibly sharp pins and contain up to 40% more than our competitors.


Our customer's favorites.
-
1-1/2" Round Pin Cup Flower Frogs
Regular price $19.50 USDRegular priceUnit price per -
1-1/4" Round Kenzan Flower Frog
Regular price From $12.50 USDRegular priceUnit price per -
1-3/8" x 3-3/4" Rectangle Kenzan Flower Frog
Regular price From $33.50 USDRegular priceUnit price per -
1-5/8" Round Kenzan Flower Frog
Regular price From $18.00 USDRegular priceUnit price per


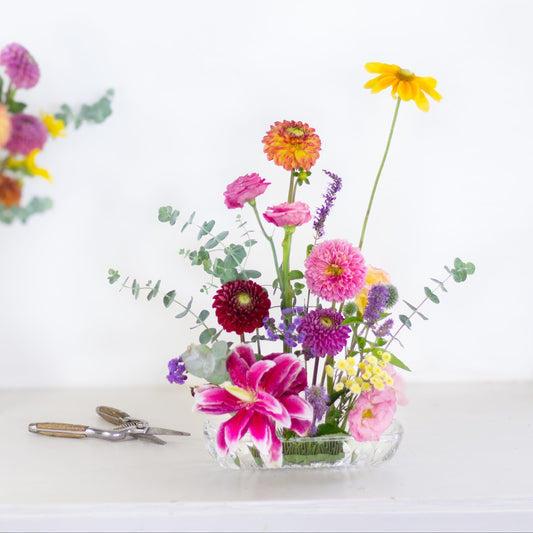
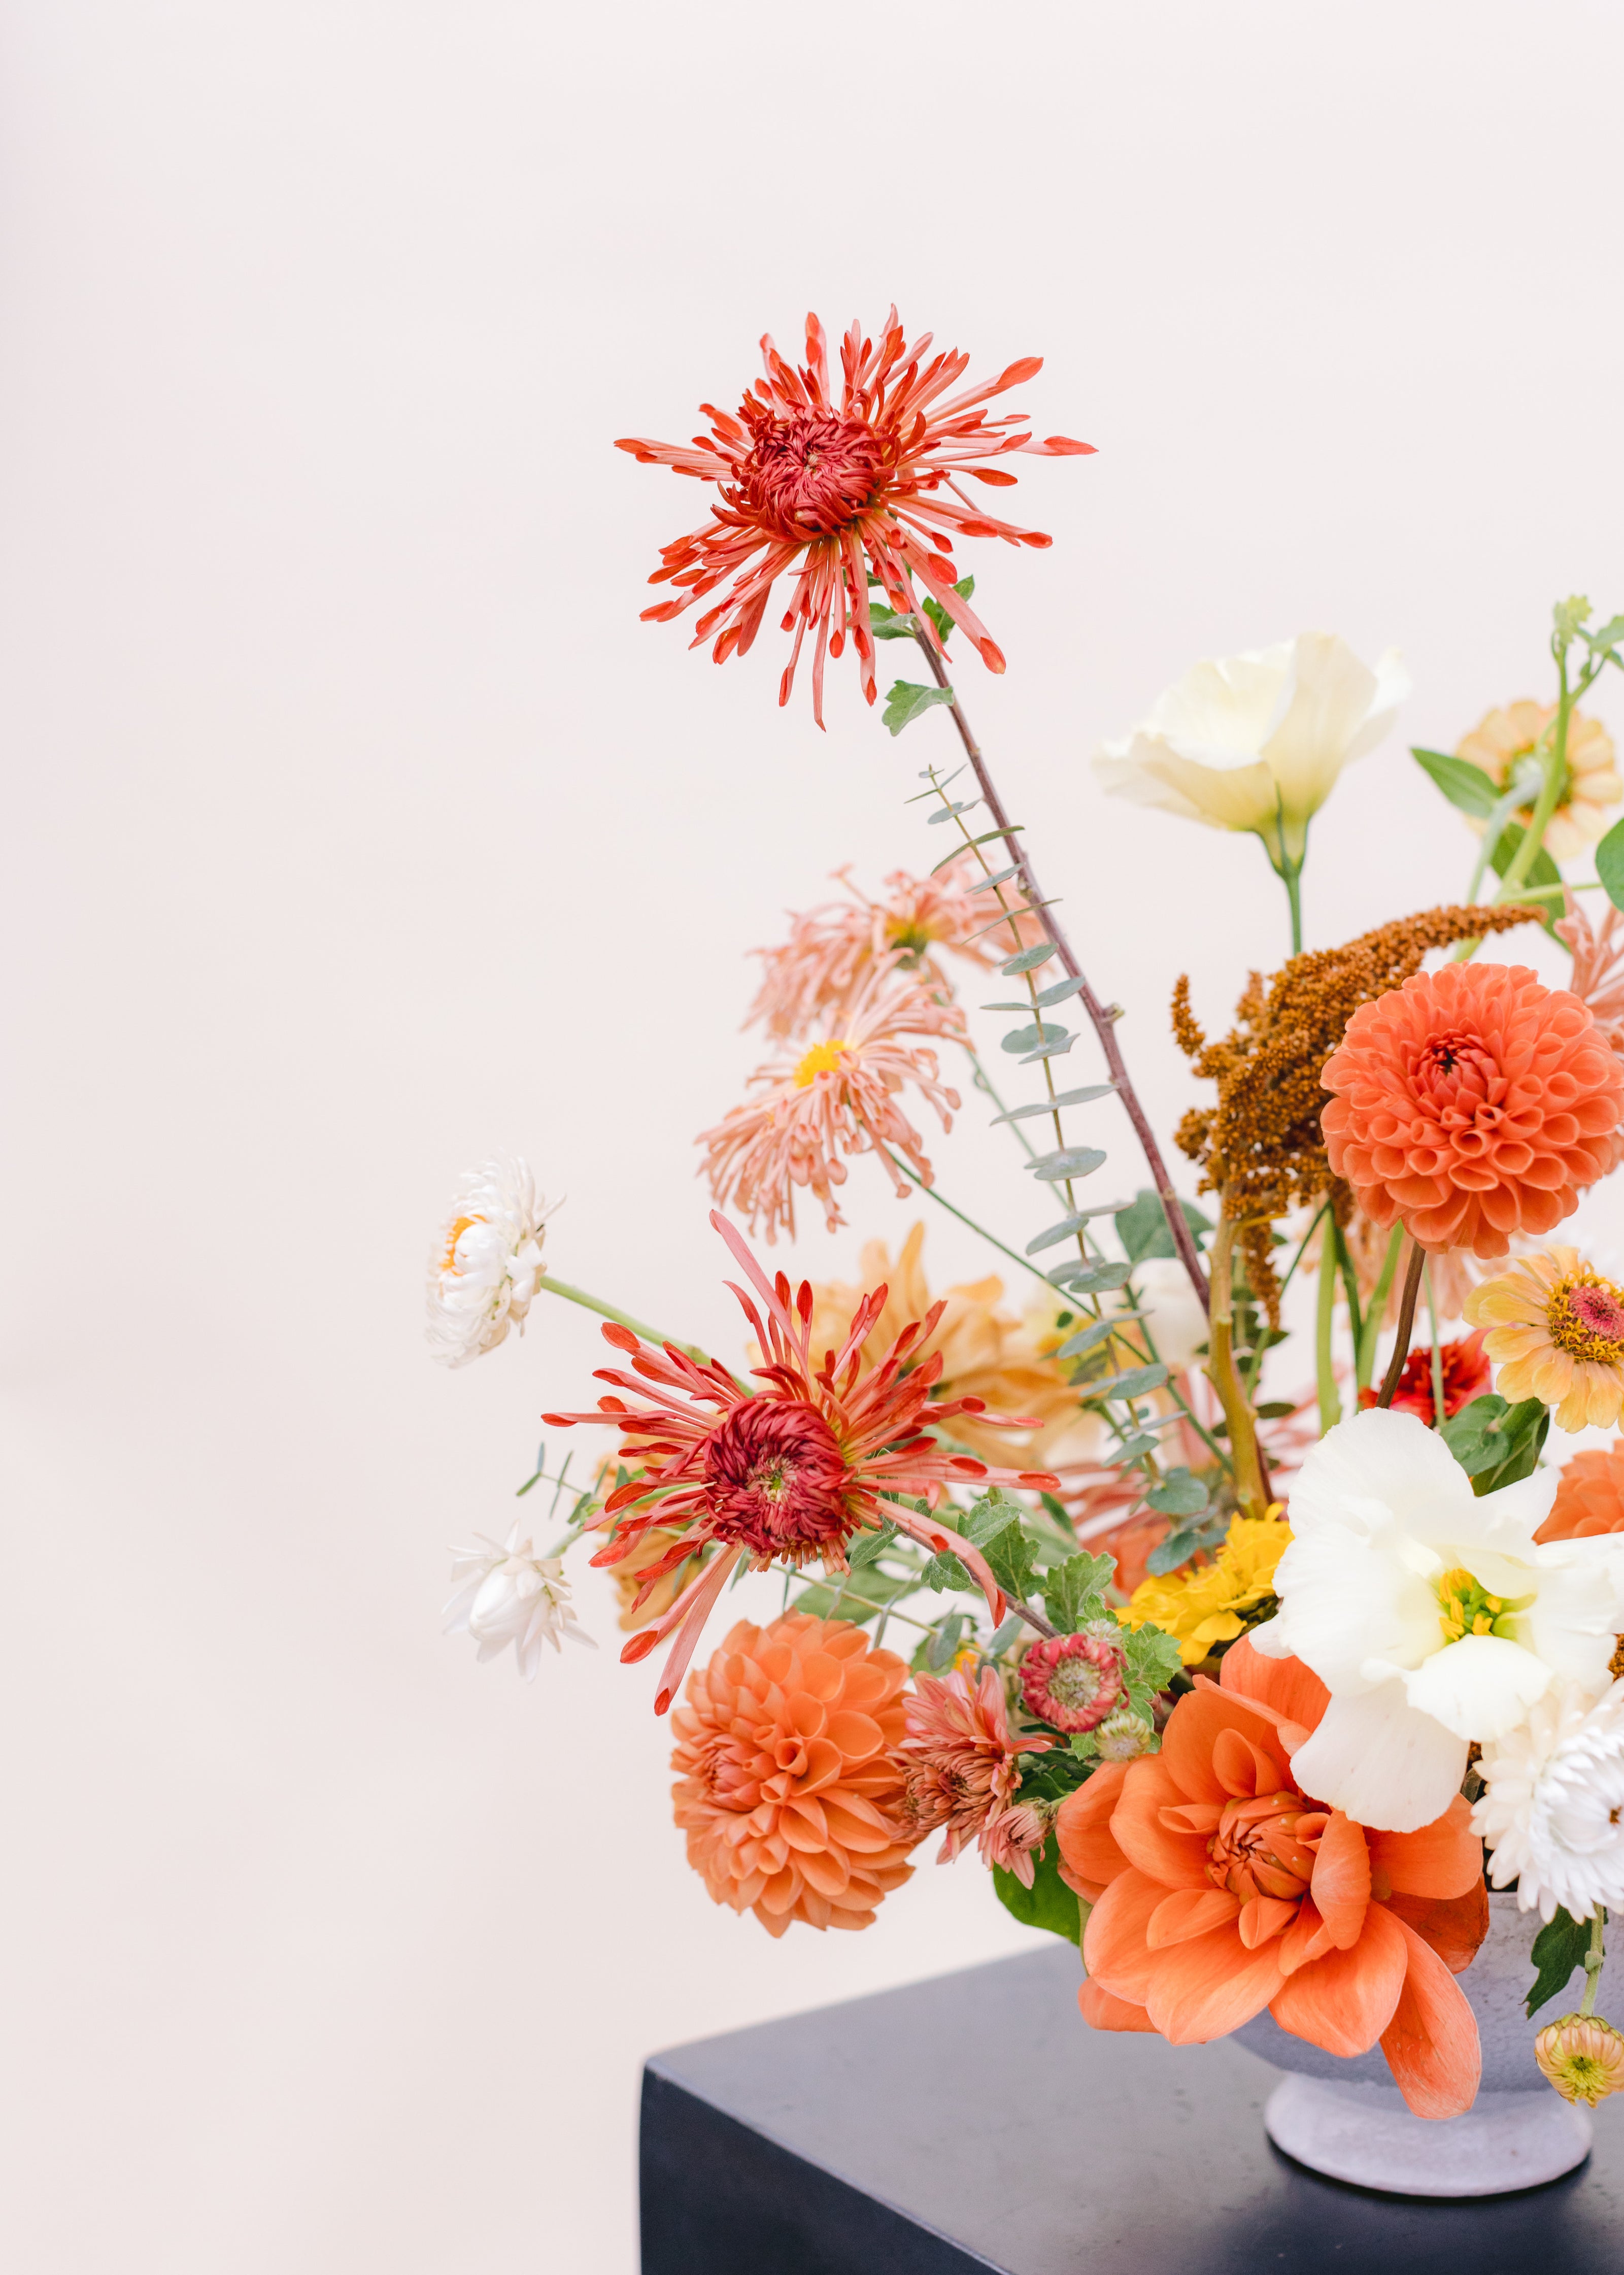
What is a flower frog?
Flower frogs are sustainable alternative to disposable floral foam. Unlike floral foam, the Floral Genius flower frogs are designed to last for decades.
Flower frogs are also known as Kenzan and are an imporant component of the ancient Japanese floral design art of Ikebana.
What are the benefits of using flower frogs?
There are many! Not only are flower frogs reusable, but their pins allow the flower stems to continue to drink water as opposed to getting clogged with foam debris, extending the life of your arrangement.
Using flower frogs also allows you to move stems around in your arrangement without compromising stability. When using foam, every stem placement creates a hole, so moving your stems creates a breakdown in the mechanic.
Additionally, using durable flower frogs are a great way to reduce the environmental impacts of floral design. Most floral foam is non-biodegradable and leaches into the vase water, which, when disposed of, puts microplastics in our water systems.
What are flower frogs made of?
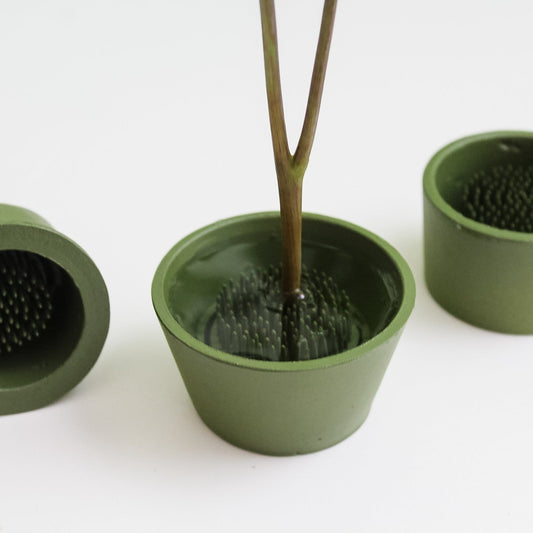
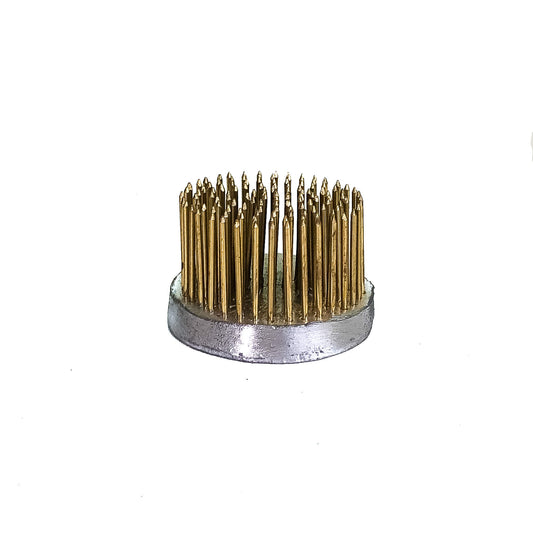
The Floral Genius flower frogs are made of 100% rust-free materials. Each pin holder and hairpin holders is made with brass pins and a lead base. These are the traditional materials used for making flower frogs and provide not only a highly-durable product, but also provide weight to the flower frogs which helps them hold bigger blooms with ease.
The unpainted products have an exposed lead base where the painted products offer a barrier to the raw materials.
Lead can be hazardous when ingested, and while the minimal exposure of handling the raw flower frogs is non-threatening, we highly encourage that you wash your hands after using our unpainted products.
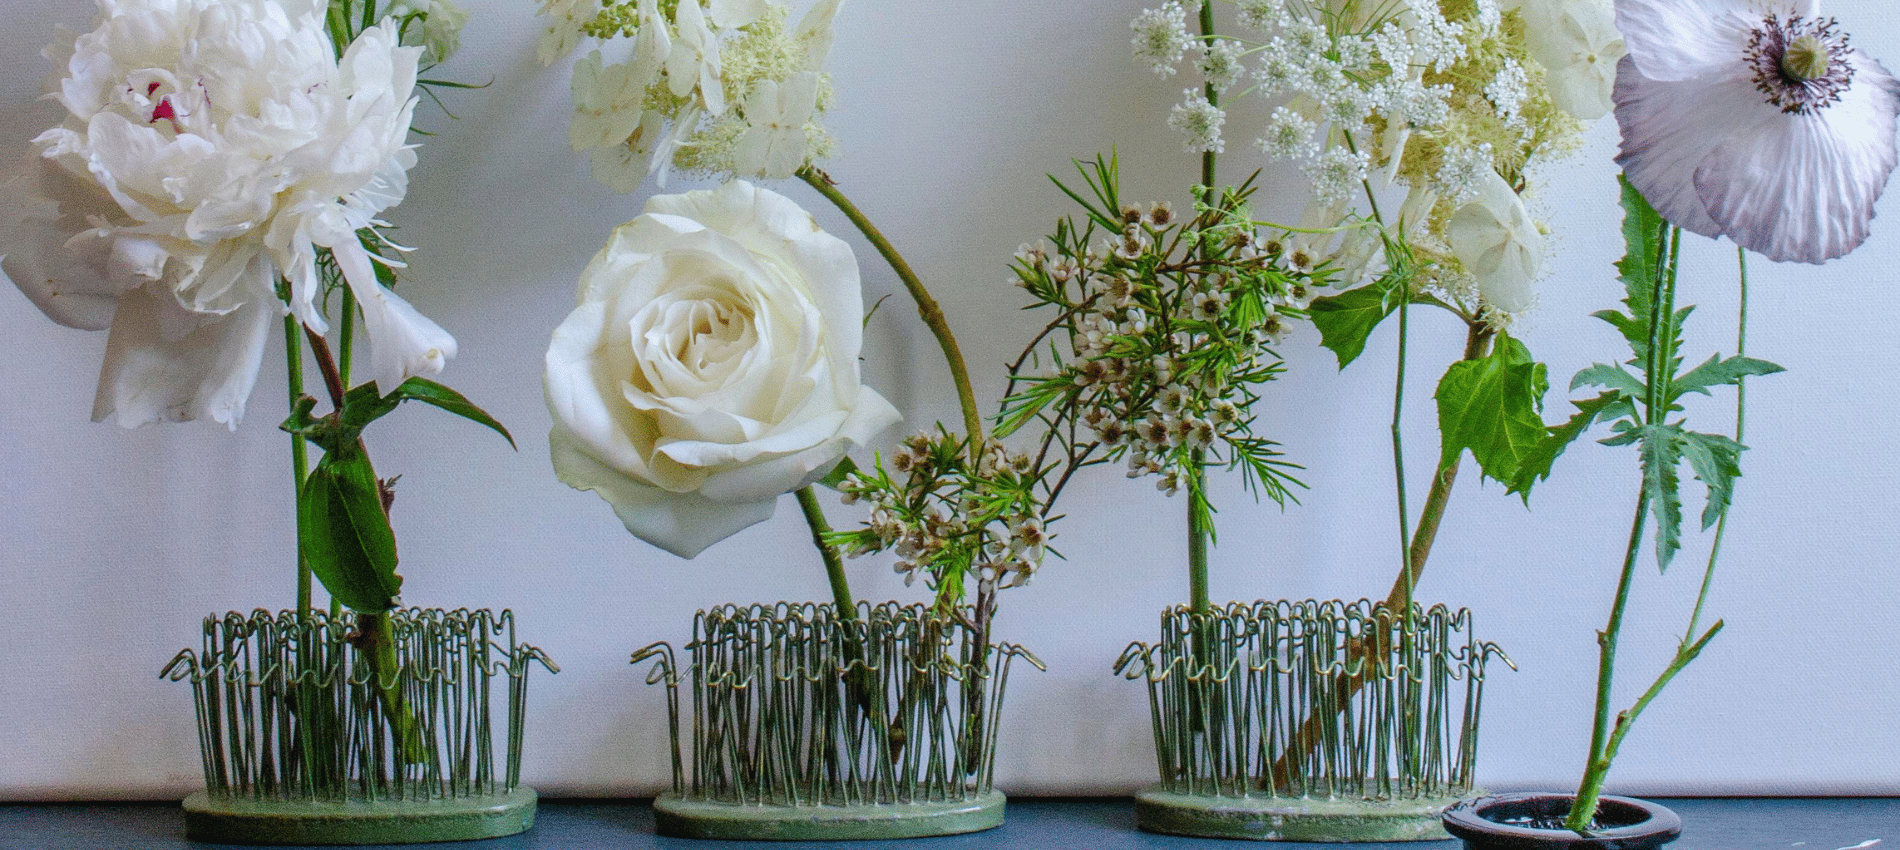
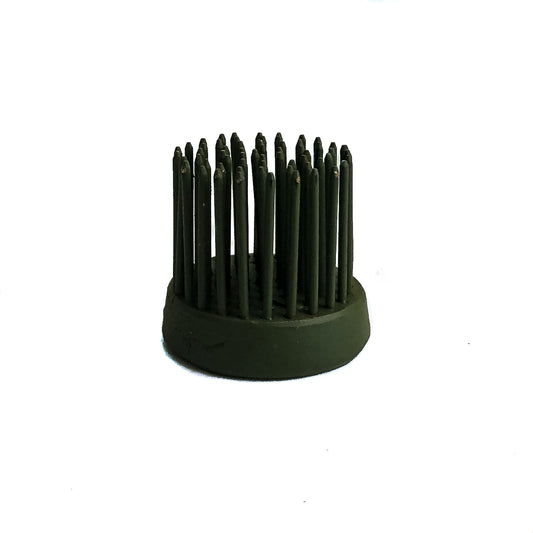
What is the difference between a pin holder kenzan and a hairpin holder?
The traditional pin holder kenzan have sharp nails that hold flowers by piercing their stems. They are low-profile for shorter vases and classic ikebana style flower arranging.
The Hairpin Holders feature looped pins that are gentler on stems as they're arranged by being placed through the loops. Since the stems aren't pierced during placement as with the pin holders, the Hairpin Holder are great for silk or dried arrangements. Additionally, the thatching created by the hairpins allows stems to easily be inserted from the side for lateral lines.
How do I know what size flower frog I need?
For traditional arrangements, you'll want your flower frog to take up at least half of the bottom of your vase. It's ok if it fills your entire vase - so as long as it fits, there's no need to worry about it being too big! For standard arrangements, the 2-1/2" pin holder and hairpin are our top-selling sizes.
Do you offer wholesale?
We do! Wholesale pricing is available for floral professionals and retailers with a valid EIN and State Tax ID number. For international businesses, we require a valid business ID number. Click here to sign up for a wholesale account.
Do you ship internationally?
We do, though we're currently not able to process international order through our website (it's coming soon!) To place an order for for delivery outside of the US, contact us at info@floralgenius.com. We proudly offer shipping to the following countries:
- UK
- Canada
- Mexico
- Germany
- France
- Italy
- Australia
- New Zealand
- Switzerland
- Norway
- South Africa
- Spain
- Poland
- Netherlands
- Ireland
- Finland
- Greece
- Sweden
To learn more about placing an order from outside the United States, visit our International Shipping page.
Great design is achieved with quality pin frogs, of which I have tried many. None have held up against my Floral Genius products. Whether it's a pin frog, hairpin holder, or pin cup, you cannot find a better quality product on the market!
Floral Genius flower frogs and hairpin holders are my daily go-to for almost all of my floral designs. Between their quality products and excellent customer service, I love supporting this company!
The Floral Genius Frogs have become one of the most versatile tools we have in our event design tool box. I've bought every size and shape to always have them on hand to use them to make money again and again.